-
 Updating and Upgrading My Skeeter F-80 Strada
I swapped 2 small Yamaha outboards for this boat a while back. It has been stored here under a covered area I used to park my customer's boats under. I Never let one of my customer's boat even get dew on them when here so I have a lot of covered space to park stuff under.

It has a good running little Yamaha 70TLR but I got this for a plaything. If I like it I may cut my Tin boat loose and use this. Time will tell. The Transom is very solid, the main reason I wanted this little boat was I knew it has been stored either under a Carport or Awning as long as I have known about it. Now everyone will see why I never throw away drop used but excellent parts.
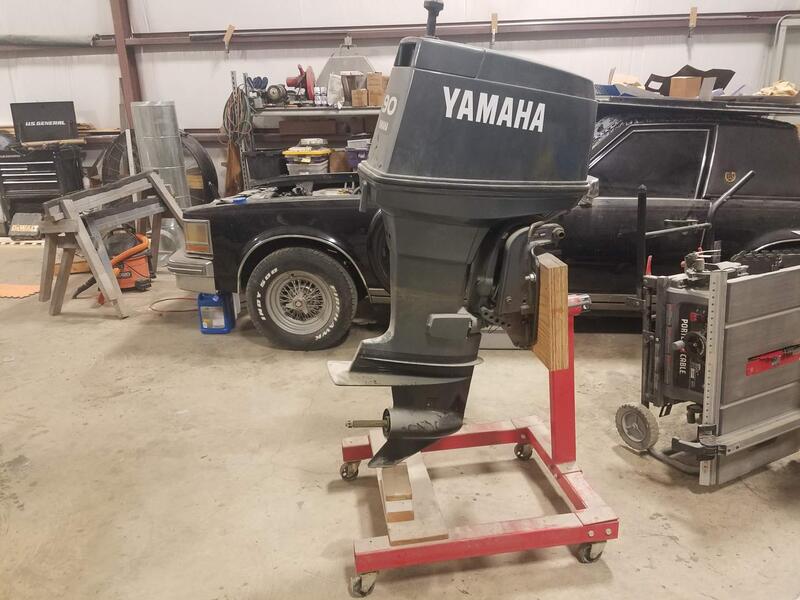
This C90TLR came from RP Breaux's shop on the Bell River above Morgan City La. When I tore it down it didn't have one speck of corrosion throughout the entire engine. I only had to go .010 on the bore so I have 3 more before re-sleeving would be needed. The lower unit got all new bearings and seals, also I went completely through the TnT with all OEM parts. Well 10 hours after the 10 hour break-in the Stator went out. Obsolete. If I could buy new it was over $700 so I bought a new E-Tec 90 for the boat on Ross Barnett and moth-balled this engine. Well since I have purchased a couple of used Stators which just went into my stash. I completely repainted it but it still has a layer of shop dust in this picture. The decals I cut on my plotter so if everything goes well I will remove the decals and paint the Cowl with the Strada colors. I also have a Evinrude 60 degree already bored and ready to build if needed. The Yamaha 90TLR is a very low compression engine, milled heads and carb jets can be purchased to bump this little 3 cylinder over 100Hp @ 239 pounds. HP to weight ratio is insane!

I'm using the chainfall I used to install the custom T-Tops I used to fabricate since this 70Hp only weighs 229 pounds.

With the engine off I did my usual Transom survey for peace of mind more than anything. I can honestly say I never had to repair a Skeeter transom the entire time I was in business.
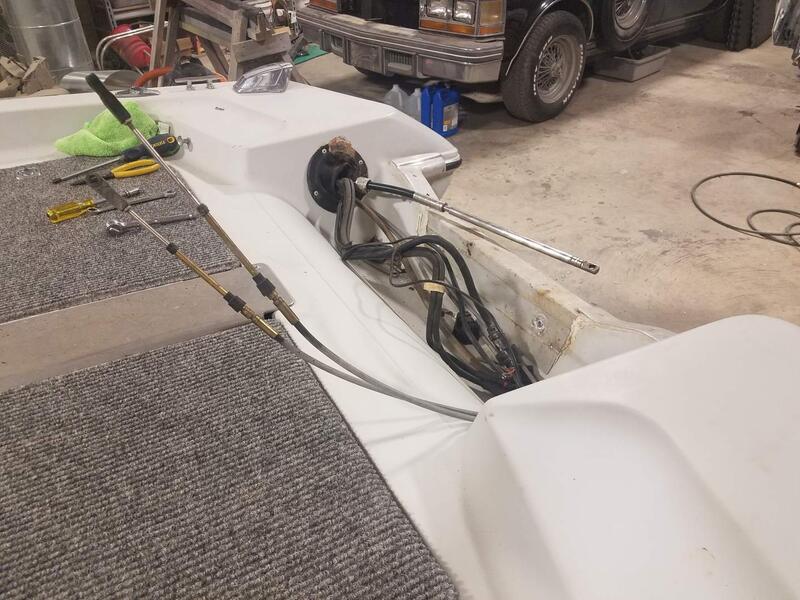
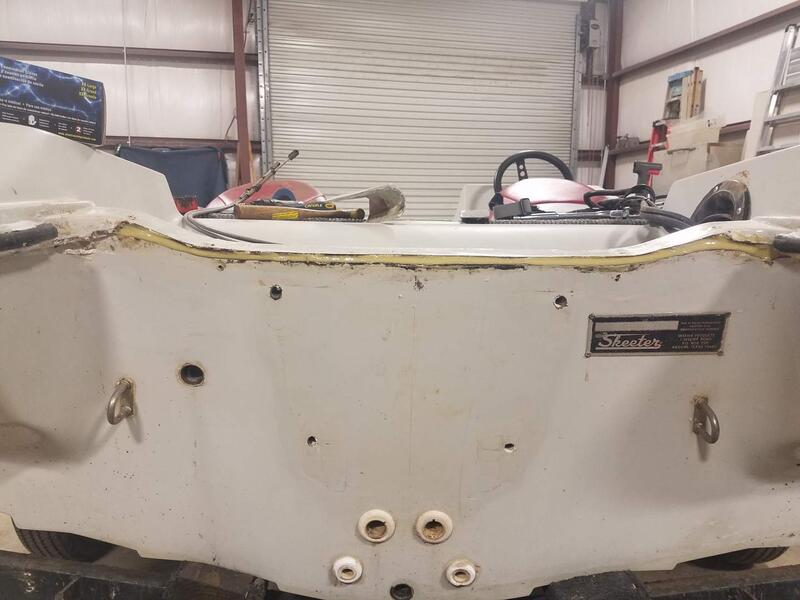
Skeeter installed a Transom Cap that didn't fit this boat. Maybe they were out of the correct size, this cap was wider than the transom was thick so they just squirted a Bathroom grade sealer everywhere and let it go. I will say here that Skeeter builds a structurally fine boat then and now. A testament to their quality is in the photographs in this post. No, and I mean No Rot anywhere.

I took this picture to show the Dobber Nest under the Flywheel of the 70Hp. These Yamaha 2 Stroke TLR engines attract Dobbers. I put a piece of very coarse foam in the back of every one I own to stop them from building Nests under the Cowl.

You can see the Caulk job here, maybe 5200 or other Urethane sealers didn't exist in 1985, I don't know I was working on Drilling Rigs then.

The Jackplate here has a relief for the Transom Cap but the factory cap interferes so I have to remove it. Below in the picture you can see how close the Cap is to the engine mounting holes.

My first thought was to just trim it up a bit but when I popped it off I saw the Funky sealer job underneath.

I realized this Cap didn't fit. I could not reinstall it knowing that.

Just look at the Goop job that was under the Transom Cap. I couldn't let that go. My nickname by all the locals when I moved here was Mr 100%. Well they were right.
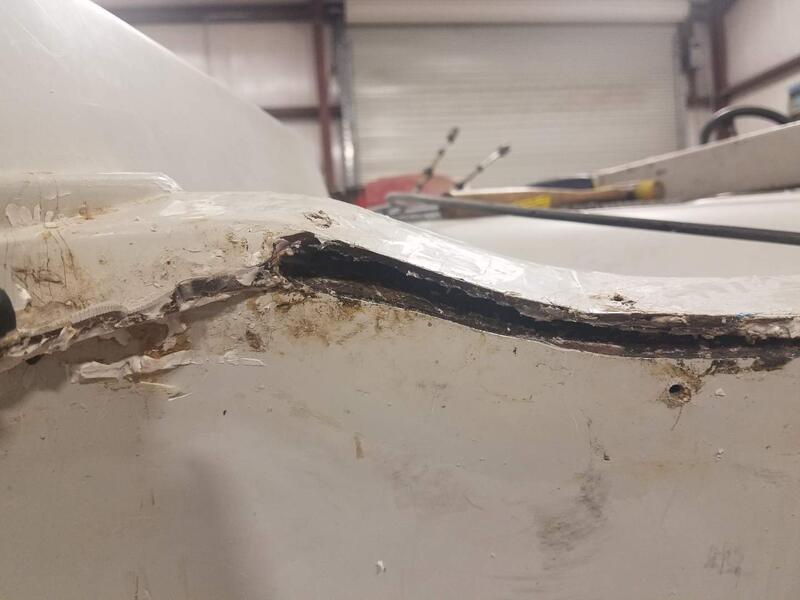
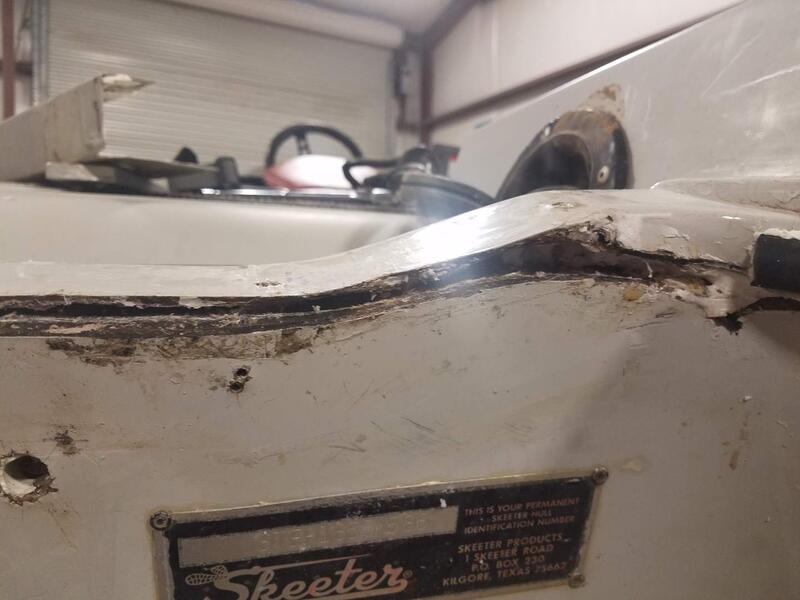

They just pumped that stuff everywhere, it provided no structural integrity at all. You can see the Cap side of the Transom joint has cracked Gelcoat all over it.

West systems Epoxy to the rescue! Every Transom I replaced while in business I pumped the Cap to Hull joint at the transom with thickened Epoxy. This boat is no exception. I dug all the sealer I could out from between the joint. Used a 3in 36 grit disk on a 2in Backer so I had a thin edge to slip inside the joint to grind above as well as below to improve the Epoxy adhesion.
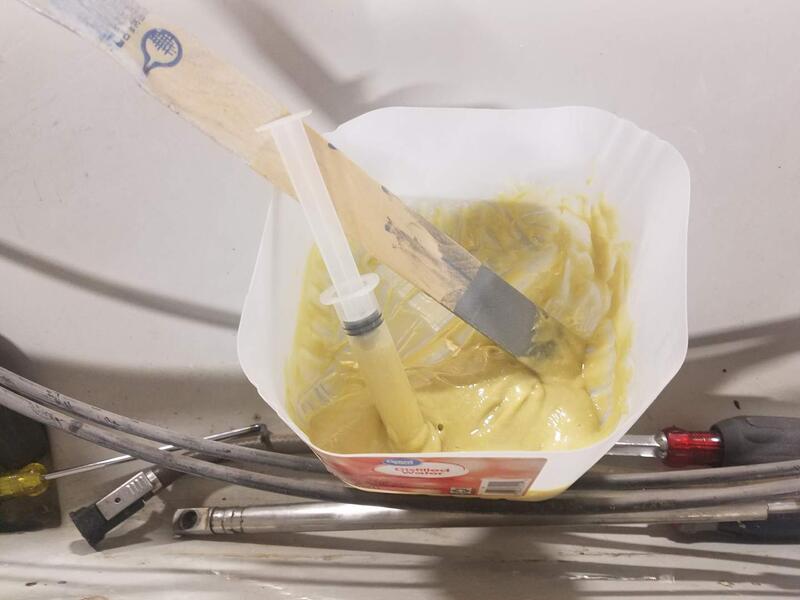
Epoxy Syringes, not just for injecting my "Secret Weapon" inside Tube Jigs.
i injected Epoxy to refusal then used a Bondo spreader to finish out the joint repair job.
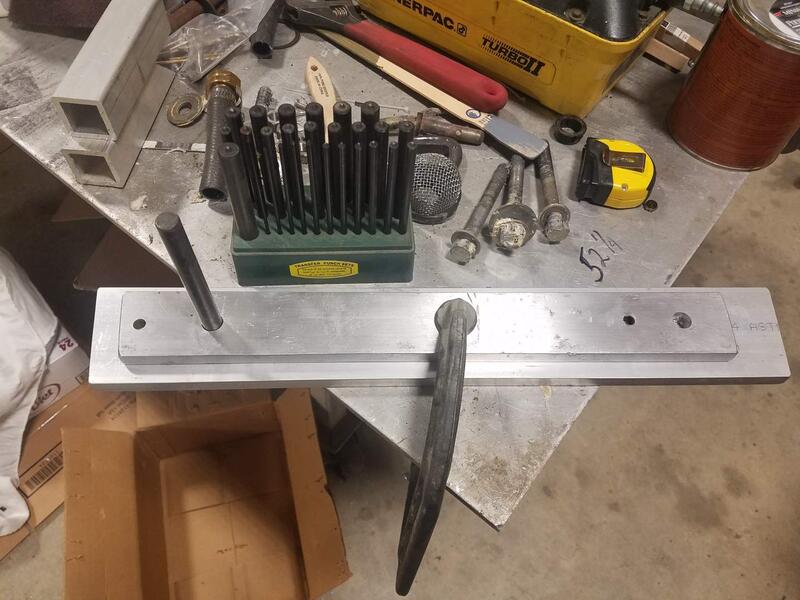
Surely this was not a factory Transom Saver, I didn't like it so I make a Jethro Bodine version. this one I like.

When you make these radius the edge going inward to the Gelcoat to reduce damage to the finish.
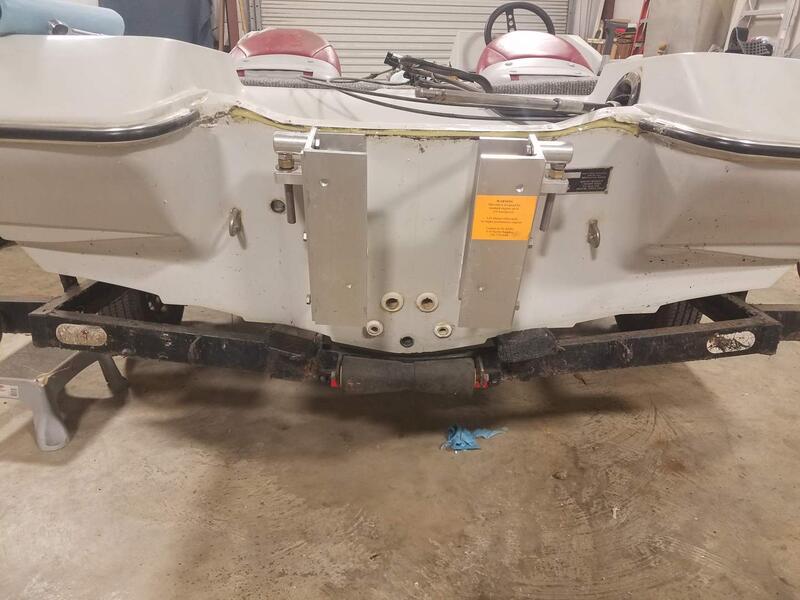
I installed the Jackplates sealing very well with a below the waterline silicone.

the new Transom Saver was also bedded with the same silicone.

here comes the Fresh Yamaha C90TLR.


For those who have not regularly removed and installed outboard engines, hook up the battery any way you can. Rarely does the C-Clamp's static angle match the Transom angles where it is getting installed. If you hook up the battery you can use the TnT switch in the Lower Cowl to match the engine C-Clamp angle to the Transom angle so the bolts align.

All I did today was the swap posted here. Back to Moth-Ball status till the Caddy runs.
Last edited by Rojo; 07-24-2024 at 06:25 PM.
Tags for this Thread
 Posting Permissions
- You may not post new threads
- You may not post replies
- You may not post attachments
- You may not edit your posts
-
Forum Rules
BACK TO TOP

 Likes:
  Thanks:
  HaHa:
HaHa: 


 Reply With Quote


