 Fourth Wrap Of Mine In This Learning Process (Picture Heavy)
In this one, I'm going to try to show my whole process from set-up to Color Preserver. On each end of the work area, I use single sided painters tape, reversed on it's self, so the sticky side is out, yet it don't spin on the shaft.
In pick one I've already done the left side, so on the right side, I place the tape, sticky side down, on the surface. Holding the roll firmly, rotate the rod so the tap transfer to the rod. I put 1-1/2 times around, pic 2.
In Pic three, I'm folding the tap back over itself, so the two non-sticky surfaces are touching each other. I put a crease accross the tape side to side, a sharp crease. Now roll the rod in the opposite direction keeping the tape fairly tight, again till you have made 1-1/2 to 2 turns, and now the sticky side is out. I do this 4 times, twice on each end, once on each side of the forked support. The two inside the supports will hold the ends of thread at the end of each passes, and the outside two aide in me rotating the rod as I wrap.
Now is when you would put on an under wrap, back-ground color if you so chose to do something. You need to know how long you want the wrap to be. Most of the information I've came accross suggests a 4-inch wrap. This is practice in the learning process for me, so this one will be about 4-inches long. I typically find the center of the area I'm tying, then measure 1/2 the distance each way to start, placing a small mark at that point.
To set your 0* and your 180* points for your crosses, the simplest way I have found is to take a piece of tape and wrap it around the rod, sticky side down till it meets it self where you started. With a fine point marker, I use a sharp pencil, mark the spot where the two meet, then peel the tape off, and put on a flat surface, table top. Measure from the end of the tape to your mark. At the mid-way point, place another mark. You now have your 0* and 180* marks. Simply reward the tape where you had it wrapped before and mark your rod. Ok you have the center marked, the 0 and 180*'s marked, all we need to do now is mark the half way points on each side of center, giving us 5 marks on this side of the rod. Almost ready to start wrapping.
Welcome must now rotate the rod 180* to the marks we made there. Find the mark even wih the end on the 0*. Measure toward the center of the rod 1/2 inch, then continue the one inch measurements you did on the 0* axis. This will give you three points inside the 4-inch pattern. Now your ready to start wrapping...
Attachment 503553Attachment 503554Attachment 503555Attachment 503556Attachment 503557Attachment 503558Attachment 503559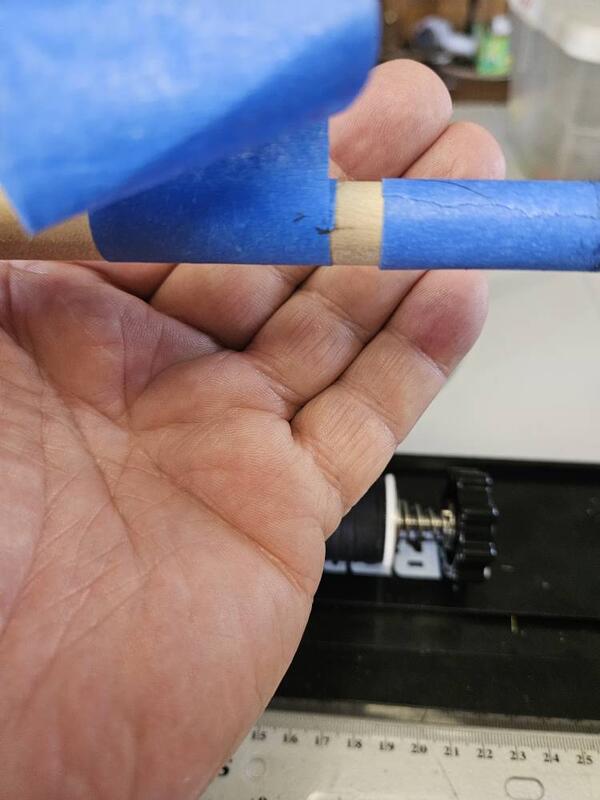


Sent from my SM-S916U using Crappie.com Fishing mobile app
Proud to have served with and supported the Units I was in: 1st IDF, 9th INF, 558th USAAG (Greece), 7th Transportation Brigade, 6th MEDSOM (Korea), III Corp, 8th IDF, 3rd Armor Div.
1980 Ebbtide Dyna-Trak 160 Evinrude 65 Triumph

 Likes:
  Thanks:
  HaHa:
HaHa: 


 Reply With Quote


